How To Convert From Container To Column WordPress

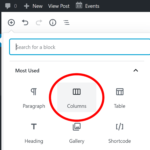
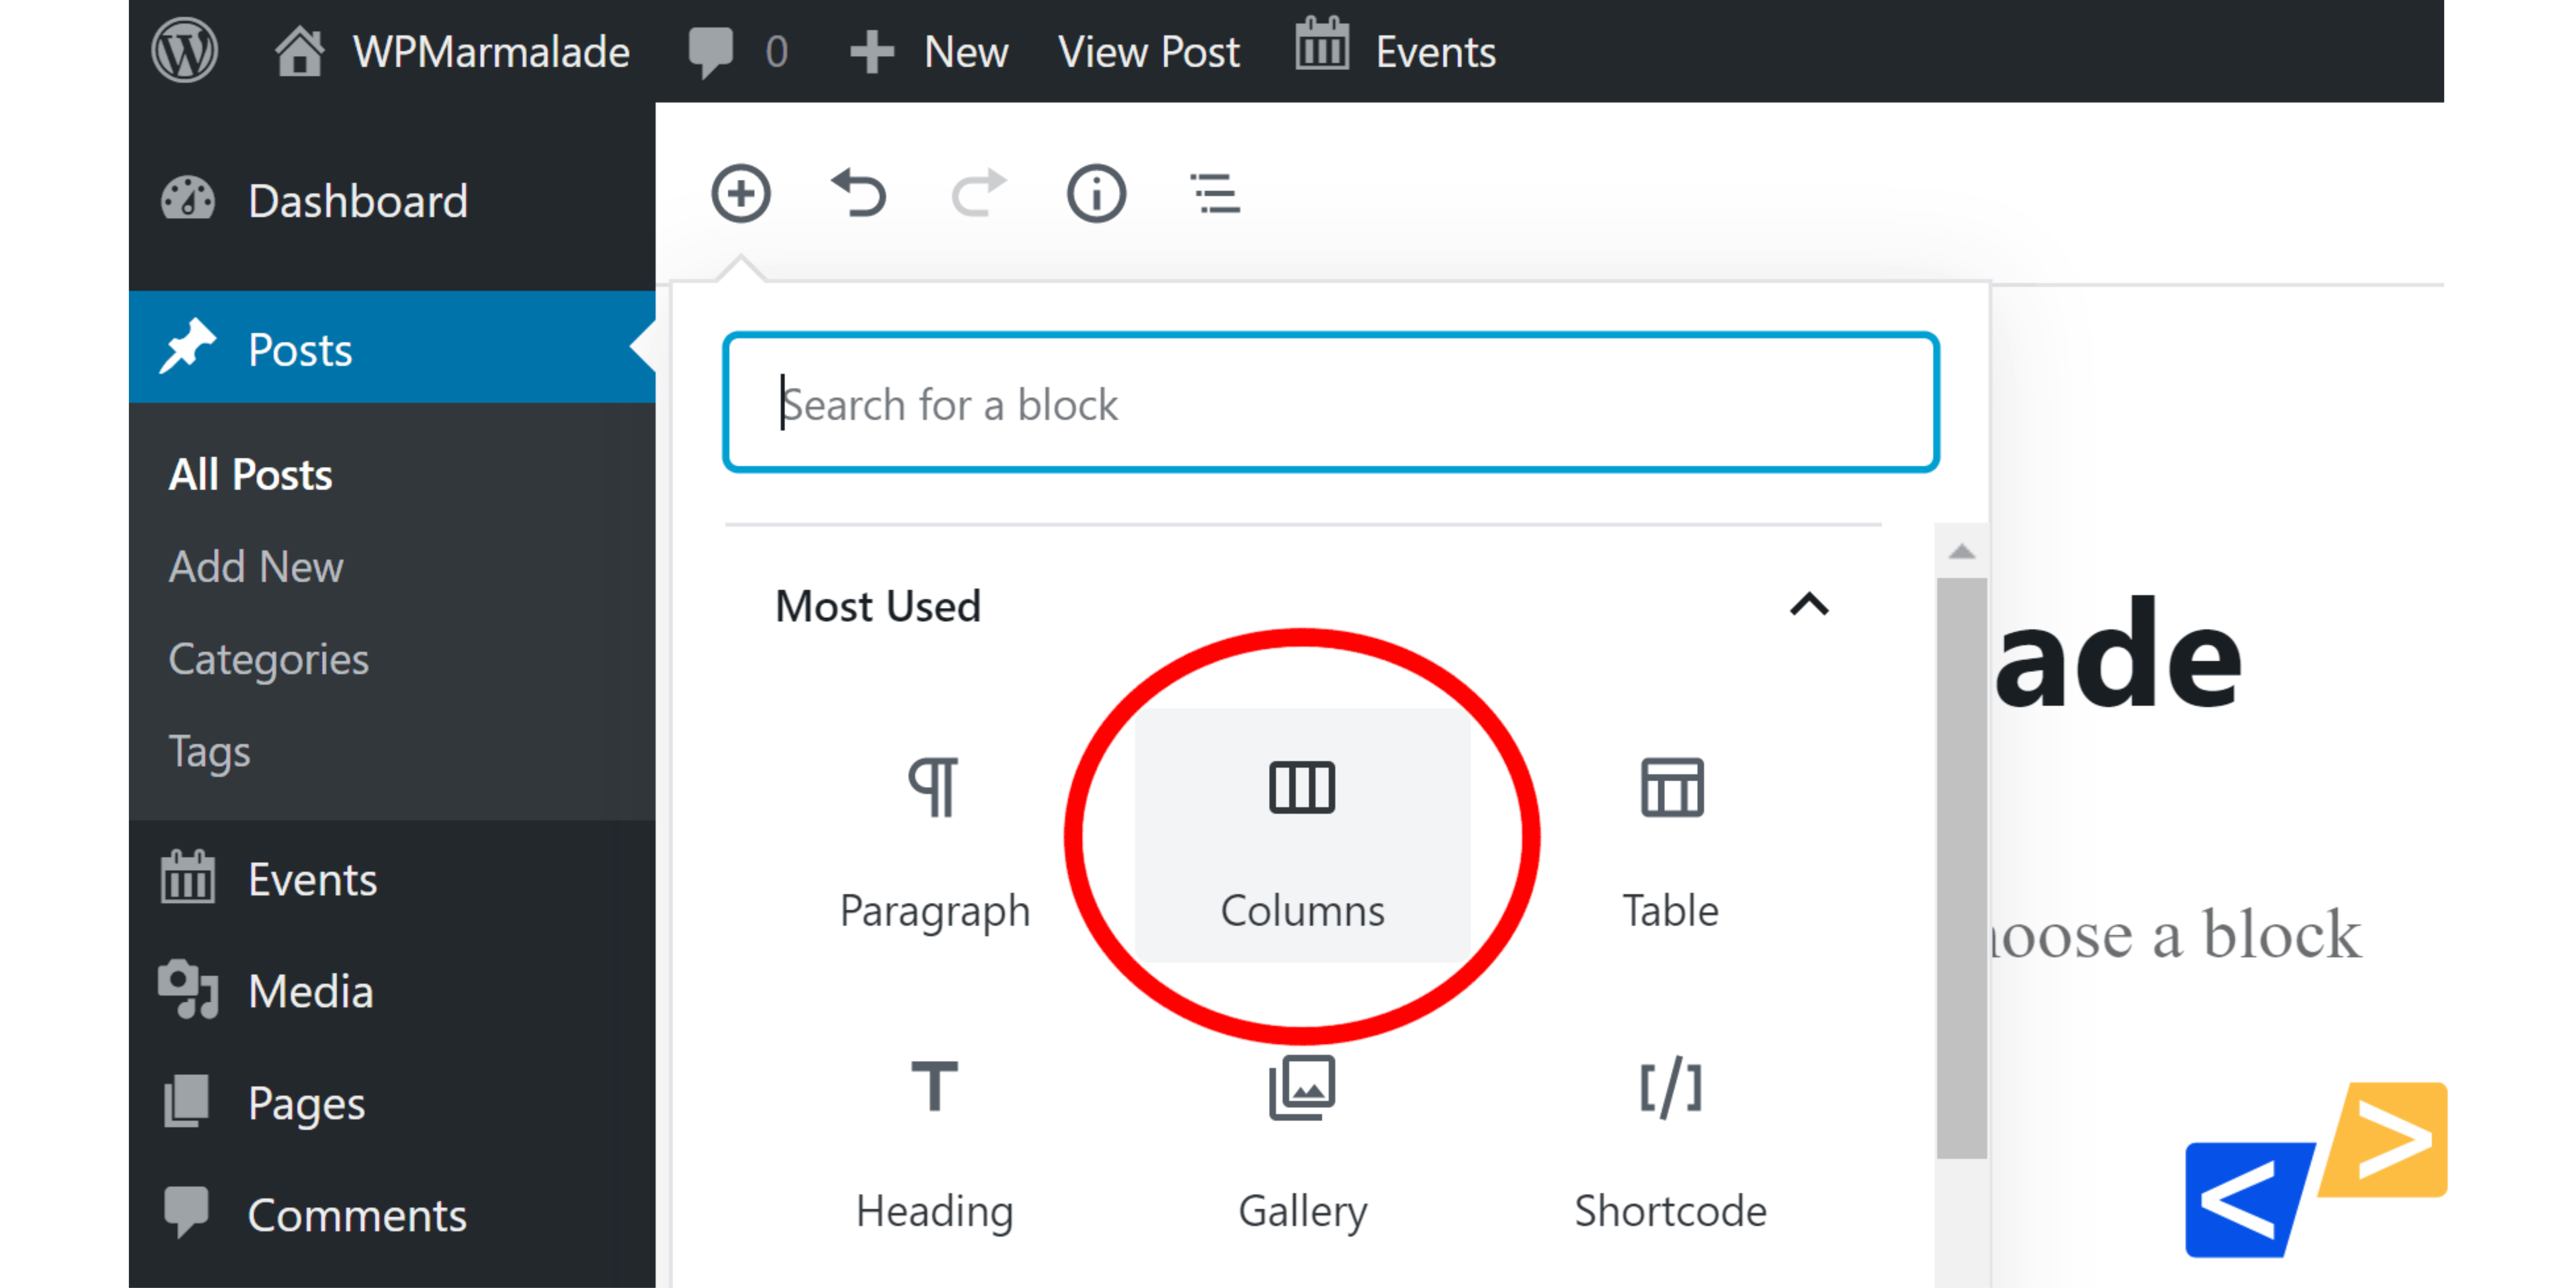
While containers are a staple for organizing content on a WordPress website, columns add a visual appeal to the website layout and improving user engagement. If you’re wondering how to convert from container to column WordPress, know that the transition is quite straightforward.  By adjusting the layout settings or using page builder plugins, you can convert containers to columns on your WordPress website and make it more responsive and adaptive for your audience.  Whether your WordPress theme supports columns or not, our guide right here will walk you through the complete process of adding columns to your website.  So let’s get right into it! 8 Simple Steps To Convert From Container To Column WordPress You can convert your WordPress website’s layout by following this step-by-step guide: 1. Make Website Backup It is critical to make a complete backup of the content on your website before you convert the layout from container to column.  A backup allows you to avoid the consequences of any potential technical glitches or human errors that can cause content loss during the transformation process.  Most WordPress hosting providers offer a comprehensive control panel, which you can browse to find a backup tool as well.  2. Select A Theme Or Page Builder With Column Option All WordPress themes do not offer a column option. So before you set out to convert the layout from container to column, you must ensure if your preset theme supports the column feature. Here’s how you can find it out: If the column layout option is available, skip to Step 4. However, if your current WordPress theme doesn’t offer columns, find a theme that does accommodate columns.  3. Install the Selected Theme Once you’ve selected your desired WordPress theme or page builder plugin, it’s time to install it and then proceed by converting containers into columns on your website. Here’s how to do it: For Theme Installation For Page Builder Plugin 4. Create A New Page Or Edit Existing One Once the new theme is activated, you can modify existing pages or create a new page with a column layout. Also, If you want to convert from container to column on an existing page, go to the page you want to change and click on ‘Edit’ and then proceed to the next step.  5. Find Column Layout Options Now you need to find the column layout option. There are typically 2 methods to access these options based on the theme or page builder you’re using.  You can either: Or: 6. Add & Configure Columns Once you’ve added the columns, you can customize them as per your requirements.  7. Customize Column Content Finally, it’s time to add content to the columns you’ve created. You can add images, text, videos, widgets, etc. to each column. Here’s how you can customize the column content: 8. Preview & Publish Your Website Lastly, before you publish the page, it’s important to preview it and make sure it looks appealing and remains functional across all devices. Here’s what you need to do: Why Convert A Container Layout To Column In WordPress? Converting a container layout to column in WordPress has several advantages and most of it has to do with improving user experience.  Following are the top 6 reasons that make this conversion a good idea: 1. Better Readability Columns remove the hassle of scrolling through lengthy paragraphs as they allow you to split the content into manageable and shorter text chunks. This form of layout facilitates scanning and allows readers to quickly identify key points of the content.  2. Better Content Organization A structured layout promotes clear segmentation of information and hence, promotes better content organization. Columns also allow users to smartly compare and contrast information side-by-side. Hence, this reduces overall clutter on the page and enhances reader experience.  3. Improved Visual Appeal Column layouts appear more visually appealing as compared to containers, which can sometimes look boring and static. Columns allow you to break the monotony of the text and make it more engaging for the reader. This dynamic presentation of content makes the website more visually pleasing.  4. Key Information Highlighted Columns allow you to effectively highlight important information, such as product features, CTAs, service details, specifications, etc. by placing them in prominent positions. This emphasis helps users to quickly check out the content that matters to them in a glance. All of this ultimately improves user engagement on the website.  5. Adaptable Design Column based layout designs are typically more responsive than containers, as in, they adapt to various screen sizes and devices more effectively. This means that whether a user is viewing the website on a small smartphone screen or a large desktop monitor, the content adjusts accordingly without disrupting the flow or organization of the page. 6. Versatility Columns allow you to present content in creative layouts unlike containers, which often confine content to a fixed width area. You can create multi-column grids, break the page into multiple columns of varying widths, and create unique designs that catch user attention.  Frequently Asked Questions  1. How Do I Change A Container To A Column In WordPress? Converting from container to column in WordPress is pretty simple. Just start by making a backup of your website and install a theme that supports the columns feature. Select the container you want to change and open block settings to choose the column layout. Adjust the columns according to your content requirement and preview your website before the final publish.  2. How Do I Create A Column In A Container? Choose the ‘Add Block’ button on the page editor and then select the ‘Columns’ option to add a column to the page. If your WordPress theme doesn’t support columns feature, you’ll have to install a theme that accommodates columns first and then proceed by adding columns to your WordPress website. 3. How Do I Split Content Into Columns In WordPress? The built-in editor of WordPress allows you to split content into columns on your website easily.

Read More

A2 Hosting vs Hostgator Reviewed 2024

Struggling to decide between A2 Hosting and Hostgator for your website? With countless hosting options available in the market, finding the right hosting provider for your website can surely be a daunting task. So you’re not alone. We have got you covered! Moving forward, you’ll find a head to head comparison of A2 Hosting vs Hostgator. Our rigorous speed trials and reliability checks for performance and uptime reveal insight into which hosting provider truly delivers the best value for your website.  So let’s dive right into the details. A2 Hosting vs. Hostgator: Features At A Glance Here’s a quick comparison of the key features of HostGator and A2 Hosting: Feature Hostgator  A2 Hosting Free Domain Yes No SSL Certificate  Free Free Pricing Starting from $3.75 per month  Starting from $2.99 per month Uptime Guarantee  99.9% 99.9% 24/7 Support Yes Yes Money back guarantee  30 Day Refund 30 Day Refund    Site Migration Both hosting providers offer website migration services to facilitate user convenience.  Hostgator offers a complimentary WordPress/cPanel migration along with inter-server migration, which allows you to transfer your websites seamlessly.  A2 Hosting, on the other hand, also offers a free migration service for one site and paid options for larger migrations.  Hostgator gets an edge due to the seamless inter-server migration that ensures additional flexibility for users with diverse hosting requirements.  Money Back Guarantee Hostgator offers the standard 30 day money back guarantee, which you can use to request a full refund within the first month if you are unsatisfied with the service.  On the other hand, A2 Hosting goes a step ahead and offers a 30-day full refund option as well as an anytime refund for unused services. This means you can cancel your subscription at any time and receive a refund for the unused portion of your hosting plan.  So clearly, A2 Hosting provides more flexibility and peace of mind when it comes to refunds.  Automatic Backups Both hosting providers offer automated backup services, but their availability varies depending on the hosting plan you choose. With Hostgator, you’ll have to subscribe to an additional backup service and pay extra money for saving your website data. A2 Hosting in contrast, offers automated backups as part of their Drive, Turbo Boost, and Turbo Max plans, providing peace of mind with regular automated backups that too without any additional cost. Performance: A2 Hosting vs. Hostgator Both Hostgator and A2 Hosting offer impressive performance metrics, including quick page loading speeds and reliable uptime.  Uptime & Response Time Both uptime and response time are responsible for providing a positive user experience and maintaining the success of a website. And our tests of A2 hosting and Hostgator revealed that both providers offer commendable uptime and loading speed. With A2 hosting, website availability will be the least of your worries as our tests revealed an impressively minimal downtime of only 7 minutes over a span of 60 days.  A2 Hosting had 4 outages in 60 days, accounting to a total downtime of 7 minutes. This means your site will have an average uptime of 99.9% as is originally claimed by the hosting provider too. Moreover, you can expect a responsive server performance with an average response time of 597ms. As for Hostgator, the uptime is even better than A2 hosting. The website experienced only 3 outages in sixty days, which translates to a downtime of roughly 5 minutes only. So exceeding industry standards, Hostgator offers more than 99.9% website uptime. The response time of 525ms is also up to par for maintaining a smooth and responsive browsing experience.  Hostgator had 3 outages in 60 days, accounting to a total downtime of 5 minutes. The edge goes to Hostgator due to less outages and better response time. However, A2 Hosting also excels in both regards and stands as a great hosting provider too.  Website Speed In addition to better user experience, fast website speed also helps improve search engine rankings of the website, making it an important factor for maximizing online visibility and increasing engagement.  With an impressive website loading speed of 1.4 seconds, A2 Hosting surpasses the standard 3-second loading time recommended by Google.  The data centers of A2 Hosting are located in: United States, Europe, and Asia So you can expect the fastest website speed in these regions. On the contrary, Hostgator performed even better in terms of website speed too. The website exhibited a fast loading speed of 1.2s only.  Hostgator Data Centers are located in US Only So, the only downside is Hostgator’s data centers being exclusively located in the US, which may impact website speed for users in other regions. Pricing The basic shared hosting plan by A2 Hosting starts at $2.99 and can go up to $14.99 per month whereas Hostgator’s hatchling plan costs $3.75 and can go up to $6.25 per month.  A2 Hosting Shared Plan: $2.99 to $14.99 per month Hostgator Shared Plan: $3.75 to $6.25 per month And here’s the deal:  Despite being cheaper, A2 hosting offers a generous amount of features, such as: A dual firewall, virus scanner, advanced DDOS protection, and brute-force defense.  Hostgator, on the other hand, offers:  Unlimited storage and email accounts, unmetered bandwidth, a free domain name registration, and a server-level firewall Apart from shared hosting plans, both hosting providers offer VPS, WordPress, and Dedicated hosting plans with advanced features. Just keep in mind that the renewal prices for both A2 hosting and Hostgator plans are steep so you must consider subscribing for at least a year or two so you can lock in lower rates and maximize cost saving. Overall, Hostgator does get a slight edge as it provides a free domain in contrast to A2 Hosting that doesn’t offer a free domain in any hosting plan. But A2 hosting won us over with its solid set of security features in the basic plan. Ease Of Use Both A2 Hosting and Hostgator offer a user-friendly interface and simplified tools to make the management of your website easy for you. 

Read More